【html/CSS】ボタンの位置を中央寄せや右寄せにする方法6選
「ふつうにボタンを作ると左寄せになってしまう。ボタンを右寄せや中央寄せに位置調整するにはどうするの?」
というあなたへ、html・CSSで位置調整のため、ボタン・画像・テキスト、divを右寄せや中央寄せにする方法を6種類解説します。
要素がインラインなのかブロックなのかで右寄せや中央寄せの方法が変わるため要注意です。
ボタンについてはaタグはインライン要素、buttonやinputはinline-blockです。「display:block」を指定することでブロック要素にすることもできます。
下記関連記事もご参考ください。
目次
【html】インライン要素の場合:親にalign属性
divやtdなどのhtmlタグにalign属性を指定すると、インラインの子要素の位置調整ができます。
aタグやimg(画像)、span(テキスト)はインライン要素です。
button、inputはinline-blockですが、この方法で位置調整できます。
右寄せ align="right"
align="right"を指定すると右寄せになります。

テキスト
<style>
.example-r{
    border: 1px solid #999;
    padding: 10px;
    background: #fff9cc;
    margin-top:10px;
}
</style>
<div align="right" class="example-r">
    <button>ボタン</button>
</div>
<div align="right" class="example-r">
    <img src="https://csshtml.work/wp-content/uploads/s-2.jpg" alt="画像" width="100">
</div>
<p align="right" class="example-r">
    テキスト
</p>
中央寄せ align="center"
align="center"を指定すると中央寄せになります。

テキスト
<style>
.example{
    border: 1px solid #999;
    padding: 10px;
    background: #fff9cc;
    margin-top:10px;
}
</style>
<div align="center" class="example">
    <button>ボタン</button>
</div>
<div align="center" class="example">
    <img src="https://csshtml.work/wp-content/uploads/s-2.jpg" alt="画像" width="100">
</div>
<p align="center" class="example">
    テキスト
</p>ただし、html5からalign属性は廃止されています。
下記のCSSを使って位置調整しましょう。
CSSやhtmlの基本をしっかり理解すると、この記事の内容もより理解できるようになりますよ。
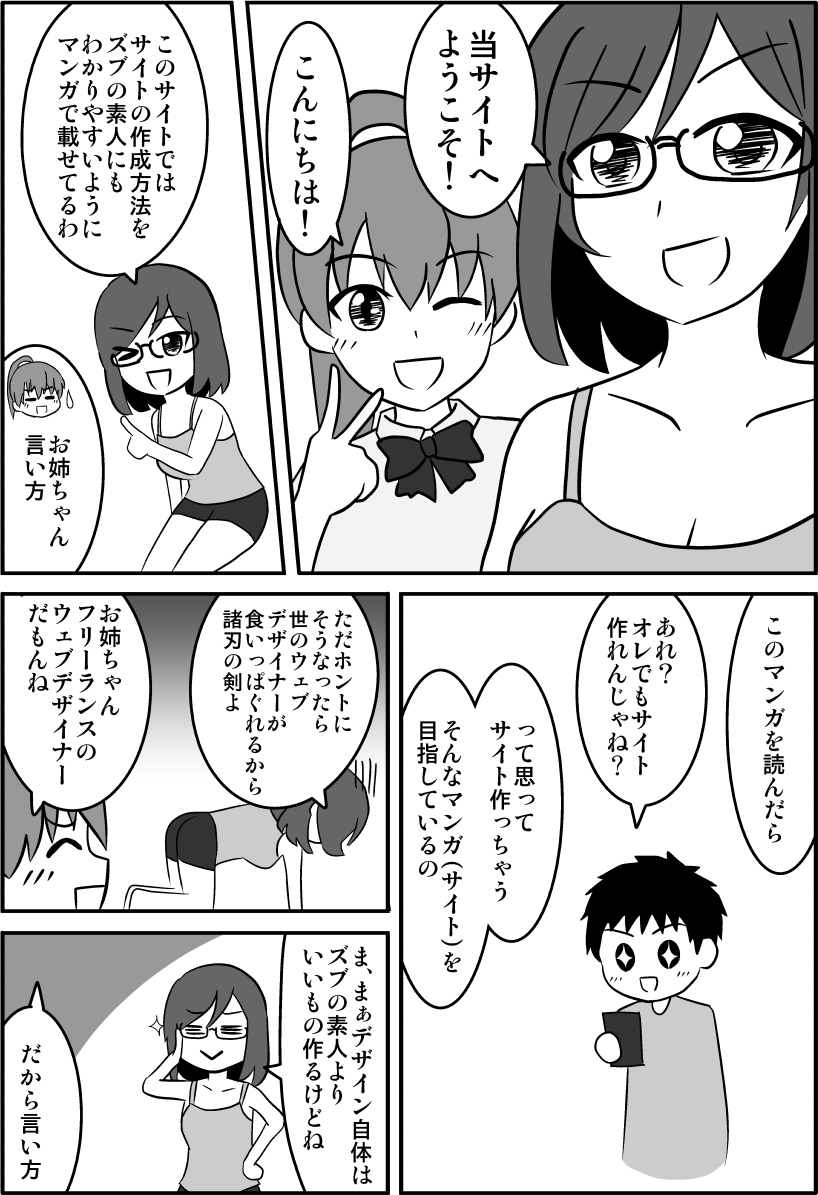
↓CSSやhtmlを楽しく学べるようにマンガを描きましたのでゼヒご覧ください↓
↑「副業してもう少し稼ぎたい!」というかたのために副業の方法も解説しています。
【CSS】インライン要素の場合:親にtext-align
aタグやimg(画像)、span(テキスト)、inputタグなどは通常インライン要素です。
インライン要素の場合は親要素に「text-align」を指定しましょう。
text-alignは子要素かつインライン要素の並びを指定するCSSです。
右寄せ text-align:right
text-align:rightを指定すると右寄せになります。

テキスト
<style>
.example{
    /*コレ*/text-align: right;
    border: 1px solid #999;
    padding: 10px;
    background: #fff9cc;
    margin-top:10px;
}
</style>
<div class="example">
    <button>ボタン</button>
</div>
<div class="example1-r">
    <img src="https://csshtml.work/wp-content/uploads/s-2.jpg" alt="画像" width="100">
</div>
<p class="example1-r">
    テキスト
</p>
中央寄せ text-align:center
text-align:centerを指定すると中央寄せになります。

テキスト
<style>
.example{
    /*コレ*/text-align: center;
    border: 1px solid #999;
    padding: 10px;
    background: #fff9cc;
    margin-top:10px;
}
</style>
<div class="example">
    <button>ボタン</button>
</div>
<div class="example">
    <img src="https://csshtml.work/wp-content/uploads/s-2.jpg" alt="画像" width="100">
</div>
<p class="example">
    テキスト
</p>
ブロック要素の場合:margin
inputやimgタグ、aタグの初期状態はインライン要素です。これに「display: block」を指定するとブロック要素にできます。
divなどのブロック要素の場合は自身に「margin」とautoを指定しましょう。右寄せか中央寄せで少し方法が違うので注意です。
右寄せ margin-left:auto
<style>
.example2 a{
    display: block;
    padding: 10px;
    background: #f2f2f2;
    border: 1px solid #999;
    color: #333;
    width: 200px;
    /*コレ*/margin-left: auto;
    text-align: center;
}
.example2{
    border: 1px solid #999;
    padding: 10px;
    background: #fff9cc;
    margin-top:10px;
}
</style>
<div class="example2">
    <a href="#">ボタン</a>
</div>margin-left:autoを指定すると要素の左側を自動で最大の隙間を空けてくれます。
これにより右寄せにできます。
margin-rightはauto以外の値を指定しましょう。margin-right:autoを指定すると中央寄せになってしまいます。
中央寄せ margin:auto
<style>
.example2 a{
    display: block;
    padding: 10px;
    background: #f2f2f2;
    border: 1px solid #999;
    color: #333;
    width: 200px;
    /*コレ*/margin: auto;
    text-align: center;
}
.example2{
    border: 1px solid #999;
    padding: 10px;
    background: #fff9cc;
    margin-top:10px;
}
</style>
<div class="example2">
    <a href="#">ボタン</a>
</div>
margin:autoは左右のmargin(隙間)を自動調整します。
つまり左右中央寄せすることができます。
厳密には「margin:0 auto 0 auto」という状態です。
margin-topとmargin-bottomのautoは0なので「margin:auto」でOKです。
中央寄せの注意点として、「ブロック要素であること」「widthがautoや100%でないこと」があげられます。詳しくは下記をご覧ください。
なんでも:flexとjustify-content
インライン要素でもブロック要素でも位置調整できるのがdisplay:flexです。
display:flexは親要素に設定します。
そして横位置を調整するのはjustify-contentです。
flexについて詳しくはこちら↓
右寄せ justify-content:flex-end
justify-content:flex-endを指定すると中央寄せになります。

テキスト
<style>
.example3{
    /*コレ*/display: flex;
    /*コレ*/justify-content: flex-end;
    border: 1px solid #999;
    padding: 10px;
    background: #fff9cc;
    margin-top:10px;
}
.example3 a{
    display: block;
    padding: 10px;
    background: #f2f2f2;
    border: 1px solid #999;
    color: #333;
    width: 200px;
    text-align: center;
}
</style>
<div class="example3">
    <a href="#">ボタン</a>
</div>
<div class="example3">
    <img src="https://csshtml.work/wp-content/uploads/s-2.jpg" alt="画像" width="100">
</div>
<p class="example3">
    テキスト
</p>
中央寄せ justify-content:center
justify-content:centerを指定すると中央寄せになります。

テキスト
<style>
.example3{
    /*コレ*/display: flex;
    /*コレ*/justify-content: center;
    border: 1px solid #999;
    padding: 10px;
    background: #fff9cc;
    margin-top:10px;
}
.example3 a{
    display: block;
    padding: 10px;
    background: #f2f2f2;
    border: 1px solid #999;
    color: #333;
    width: 200px;
    text-align: center;
}
</style>
<div class="example3">
    <a href="#">ボタン</a>
</div>
<div class="example3">
    <img src="https://csshtml.work/wp-content/uploads/s-2.jpg" alt="画像" width="100">
</div>
<p class="example3">
    テキスト
</p>
任意の位置移動:position:absolute
特定の位置に固定したいならposition:absoluteが便利です。
親要素にposition:relativeを指定し、自身にposition:absoluteを指定します。その後topやleftで位置調整します。
positionは扱いが少し難しいので要注意です。
右寄せ right:0
rightは右からの位置を指定できるCSSです。任意の数値にしましょう。
leftは未指定かautoを指定しましょう。

テキスト
<style>
.example4-r{
    /*コレ*/position: relative;
    border: 1px solid #999;
    padding: 10px;
    background: #fff9cc;
    margin-top:10px;
    height: 50px;
}
.example4-r>*{
    /*コレ*/position: absolute;
    right: 0;
    top: 0;
}
.example4-r a{
    display: block;
    padding: 10px;
    background: #f2f2f2;
    border: 1px solid #999;
    color: #333;
    width: 200px;
    text-align: center;
}
</style>
<div class="example4-r">
    <a href="#">ボタン</a>
</div>
<div class="example4-r">
    <img src="https://csshtml.work/wp-content/uploads/s-2.jpg" alt="画像" width="100">
</div>
<p class="example4-r">
    <span>テキスト</span>
</p>
中央寄せ left:50%とtransform:translateX(-50%)
left:50%で親要素の半分の位置に子要素の左端をつけます。
transform:translateX(-50%)で子要素の幅の半分だけ左にずらして中央寄せにします。

<style>
.example4{
    /*コレ*/position: relative;
    border: 1px solid #999;
    padding: 10px;
    background: #fff9cc;
    margin-top:10px;
    height: 50px;
}
.example4>*{
    /*コレ*/position: absolute;
    /*コレ*/left: 50%;
    /*コレ*/transform: translateX(-50%);
    top: 0;
}
.example4 a{
    display: block;
    padding: 10px;
    background: #f2f2f2;
    border: 1px solid #999;
    color: #333;
    width: 200px;
    text-align: center;
}
</style>
<div class="example4">
    <a href="#">ボタン</a>
</div>
<div class="example4">
    <img src="https://csshtml.work/wp-content/uploads/s-2.jpg" alt="画像" width="100">
</div>
回り込みなどに:float
floatで右寄せもできます。親要素にoverflow:hiddenを指定するか、弟要素にclear:bothを指定しないと崩れるため要注意です。
テキストが兄弟要素にある場合重ならず回り込むことができるのが特徴です。
右寄せ float:right
右寄せするには自身にfloat:rightを指定します。

テキスト
<style>
.example5-r{
    /*コレ*/overflow: hidden;
    border: 1px solid #999;
    padding: 10px;
    background: #fff9cc;
    margin-top:10px;
}
.example5-r>*{
    /*コレ*/float: right;
}
.example5-r a{
    display: block;
    padding: 10px;
    background: #f2f2f2;
    border: 1px solid #999;
    color: #333;
    width: 200px;
    text-align: center;
}
</style>
<div class="example5-r">
    <a href="#">ボタン</a>
</div>
<div class="example5-r">
    <img src="https://csshtml.work/wp-content/uploads/s-2.jpg" alt="画像" width="100">
</div>
<p class="example5-r">
    <span>テキスト</span>
</p>
中央寄せ なし
floatはleftとrightしかなく中央寄せはありません。
margin:autoですら効きません。
まとめ
| 右寄せ | 中央寄せ | |
|---|---|---|
| html | 親にalign="right" | 親にalign="center" |
| インライン 要素 | 親にtext-align:right | 親にtext-align:center |
| ブロック 要素 | margin-left:auto; margin-right:0;(auto以外) | margin:auto |
| なんでも | 親にdisplay:flex; justify-content:flex-end | 親にdisplay:flex; justify-content:center |
| 任意の 位置に | 親にposition:relative 自身にposition:absolute; right:0; | 親にposition:relative 自身にposition:absolute; left:50%; transform:translateX(-50%) |
| 回り込み | 親にoverflow:hidden または弟にclear:both 自身にfloat: right | なし |
以上、html・CSSで位置調整のため、ボタン・画像・テキストを右寄せや中央寄せにする方法でした。
「この記事の内容がよくわからなかった…」「なんかうまくいかなかった…」というかたは下記記事↓でhtmlとCSSの基本を学びましょう。
わからないまま突き進むより基本を学ぶのが結局近道です。


